Continuous Delivery with Amazon EKS and ArgoCD

In this article, I am focusing solely on the Yellow Highlighted Portion in the Architecture Diagram, which demonstrates the deployment of a Java application on Amazon EKS and Argo CD.
For Continuous Integration Part, please refer to the accompanying blog.
Jenkins Pipeline for Java based application using Maven, SonarQube, Argo CD and Kubernetes
In a previous blog post, I provided a guide on achieving continuous deployment on Minikube. However, I understand that for Windows OS users, the process of setting up Virtual Box can be quite daunting, especially for those who are not familiar with the technology. Additionally, configuring Minikube and ArgoCD on a Virtual Box/EC2 instance can require more manual setup and configuration. Given these challenges, I would like to offer an alternative solution by explaining how to deploy the Java application on Amazon EKS.
Amazon EKS is a fully managed Kubernetes service, which means that it takes care of the underlying infrastructure and manages the Kubernetes control plane, making it easier for users to focus on their application development.
ArgoCD is a tool used for automating the deployment of containerized applications to Kubernetes. It can establish an automated continuous delivery pipeline for configuring Kubernetes and allows for declarative and version-controlled application deployments. ArgoCD automatically monitors and pulls changes in the Git repository, and provides easy rollback and revert options.
Setup an AWS EC2 Instance
Login to an AWS account using a user with admin privileges and ensure your region is set to us-east-1 N. Virginia.
Move to the EC2 console. Click Launch Instance.
For name use Main-Server
Select AMIs as Ubuntu and select Instance Type as t2.medium. Create new Key Pair and Create a new Security Group with traffic allowed from ssh, http and https.
Click on launch Instance and once EC2 Instance started, connect to it with EC2 Instance Connect.

Install AWS CLI and Configure
Now we need to set up the AWS CLI on the EC2 machine so that we can use eksctl in the later stages
Let us get the installation done for AWS CLI 2.
Linux x86(64-bit) If you are using Linux x86(64-bit) operating system:
curl "https://awscli.amazonaws.com/awscli-exe-linux-x86_64.zip" -o "awscliv2.zip"
sudo apt install unzip
unzip awscliv2.zip
sudo ./aws/install
aws --version


Install and Setup Kubectl
Kubectl is a command-line interface (CLI) tool that is used to interact with Kubernetes clusters. It allows users to deploy, inspect, and manage Kubernetes resources such as pods, deployments, services, and more. Kubectl enables users to perform operations such as creating, updating, deleting, and scaling Kubernetes resources.
Run the following steps to install kubectl on EC2 instance.
curl -LO "https://storage.googleapis.com/kubernetes-release/release/$(curl -s https://storage.googleapis.com/kubernetes-release/release/stable.txt)/bin/linux/amd64/kubectl"
chmod +x ./kubectl
sudo mv ./kubectl /usr/local/bin
kubectl version

Install and Setup eksctl
Download and extract the latest release of eksctl with the following command.
curl --silent --location "https://github.com/weaveworks/eksctl/releases/latest/download/eksctl_$(uname -s)_amd64.tar.gz" | tar xz -C /tmp
Move the extracted binary to /usr/local/bin.
sudo mv /tmp/eksctl /usr/local/bin
Test that your installation was successful with the following command.
eksctl version

Install Helm chart
The next tool we need is Helm Chart. Helm is a package manager for Kubernetes, an open-source container orchestration platform. Helm helps you manage Kubernetes applications by making it easy to install, update, and delete them.
Install Helm Chart - Use the following script to install the helm chart -
curl -fsSL -o get_helm.sh https://raw.githubusercontent.com/helm/helm/main/scripts/get-helm-3
chmod 700 get_helm.sh
./get_helm.sh
helm version
Verify Helm Chart installation

This way we install all AWS CLI, kubectl, eksctl and Helm.

Creating an Amazon EKS cluster using eksctl
Now in this step, we are going to create Amazon EKS cluster using eksctl
You need the following in order to run the eksctl command
Name of the cluster : --eks2
Version of Kubernetes : --version 1.24
Region : --region us-east-1
Nodegroup name/worker nodes : --nodegroup-name worker-nodes
Node Type : --nodegroup-type t2.medium
Number of nodes: --nodes 2
Minimum Number of nodes: --nodes-min 2
Maximum Number of nodes: --nodes-max 3
Here is the eksctl command -
eksctl create cluster --name eks2 --version 1.24 --region us-east-1 --nodegroup-name worker-nodes --node-type t2.medium --nodes 2 --nodes-min 2 --nodes-max 3
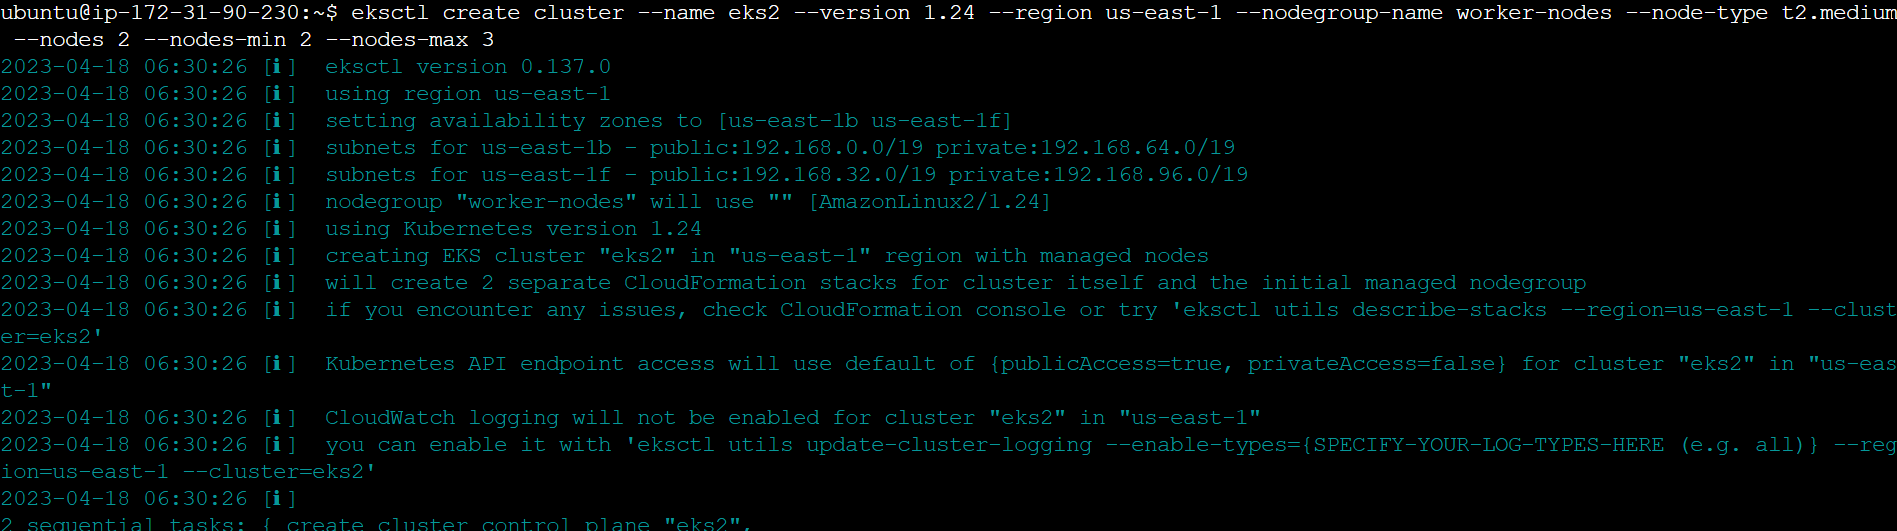

It took me 20 minutes to complete this EKS cluster. If you get any error for not having sufficient data for mentioned availability zone then try it again.
You can go back to your AWS dashboard and look for Elastic Kubernetes Service -> Clusters


Setup IAM role for service accounts
The controller runs on the worker nodes, so it needs access to the AWS ALB/NLB resources via IAM permissions. The IAM permissions can either be setup via IAM roles for ServiceAccount or can be attached directly to the worker node IAM roles.
1- Set the below values to your default AWS region, your account id and your EKS cluster name
AWS_ACCOUNT_ID=YOUR_ACCOUNT_ID_HERE
AWS_REGION=YOUR_AWS_REGION_HERE
EKS_CLUSTER_NAME=YOUR_EKS_CLUSTER_NAME_HERE
1- Create IAM OIDC provider
eksctl utils associate-iam-oidc-provider \
    --region ${AWS_REGION} \
    --cluster ${EKS_CLUSTER_NAME} \
    --approve

2- Download IAM policy for the AWS Load Balancer Controller
curl -fsSL -o iam-policy.json https://raw.githubusercontent.com/kubernetes-sigs/aws-load-balancer-controller/v2.4.0/docs/install/iam_policy.json
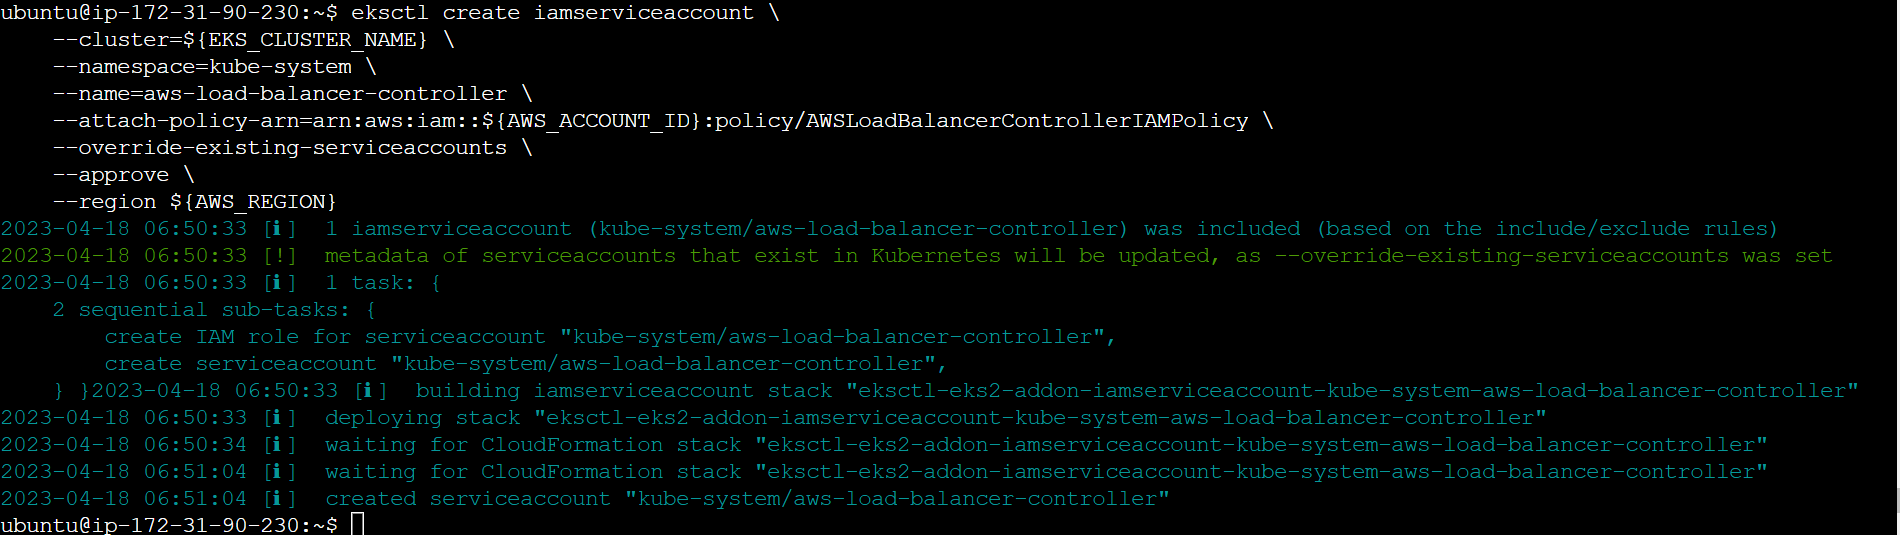
3- Create a IAM role and ServiceAccount for the AWS Load Balancer controller using eksctl tool
eksctl create iamserviceaccount \
    --cluster=${EKS_CLUSTER_NAME} \
    --namespace=kube-system \
    --name=aws-load-balancer-controller \
    --attach-policy-arn=arn:aws:iam::${AWS_ACCOUNT_ID}:policy/AWSLoadBalancerControllerIAMPolicy \
    --override-existing-serviceaccounts \
    --approve \
    --region ${AWS_REGION}
4- Install the helm chart by specifying the chart values serviceAccount.create=false and serviceAccount.name=aws-load-balancer-controller
helm repo add eks https://aws.github.io/eks-charts

helm install aws-load-balancer-controller eks/aws-load-balancer-controller \
    -n kube-system \
    --set clusterName=${EKS_CLUSTER_NAME} \
    --set serviceAccount.create=false \
    --set serviceAccount.name=aws-load-balancer-controller

5- Verify that the AWS Load Balancer controller is installed.
kubectl get deployment -n kube-system aws-load-balancer-controller

Install Argo CD operator
ArgoCD is a widely-used GitOps continuous delivery tool that automates application deployment and management on Kubernetes clusters, leveraging Git repositories as the source of truth. It offers a web-based UI and a CLI for managing deployments, and it integrates with other tools. ArgoCD streamlines the deployment process on Kubernetes clusters and is a popular tool in the Kubernetes ecosystem.
The Argo CD Operator manages the full lifecycle of Argo CD and its components. The operator's goal is to automate the tasks required when operating an Argo CD cluster.
curl -sL https://github.com/operator-framework/operator-lifecycle-manager/releases/download/v0.24.0/install.sh | bash -s v0.24.0
kubectl create -f https://operatorhub.io/install/argocd-operator.yaml
kubectl get csv -n operators
kubectl get pods -n operators


Goto link https://argocd-operator.readthedocs.io/en/latest/usage/basics/
The following example shows the most minimal valid manifest to create a new Argo CD cluster with the default configuration.
Create argocd-basic.yml with the following content.
apiVersion: argoproj.io/v1alpha1
kind: ArgoCD
metadata:
  name: example-argocd
  labels:
    example: basic
spec: {}
kubectl apply -f argocd-basic.yml
kubectl get pods
kubectl get svc
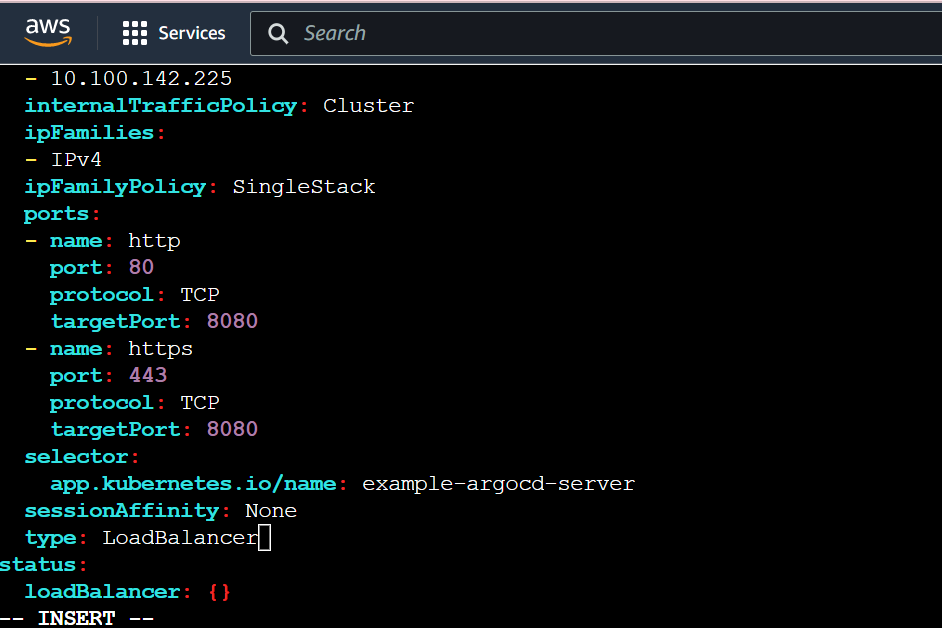
kubectl edit svc example-argocd-server
minikube service example-argocd-server
kubectl get secret

LoadBalancer services are useful for exposing pods to external traffic where clients have network access to the Kubernetes nodes.
kubectl edit svc example-argocd-server And change the spec.type from ClusterIP to LoadBalancer. Save it.


Password for Argo CD
Find out the password for Argo CD, so that, we can access the Argo CD web interface.
kubectl get secret
kubectl edit secret example-argocd-cluster

Copy admin.password

echo <admin.password> | base64 -d

Deploy a sample application
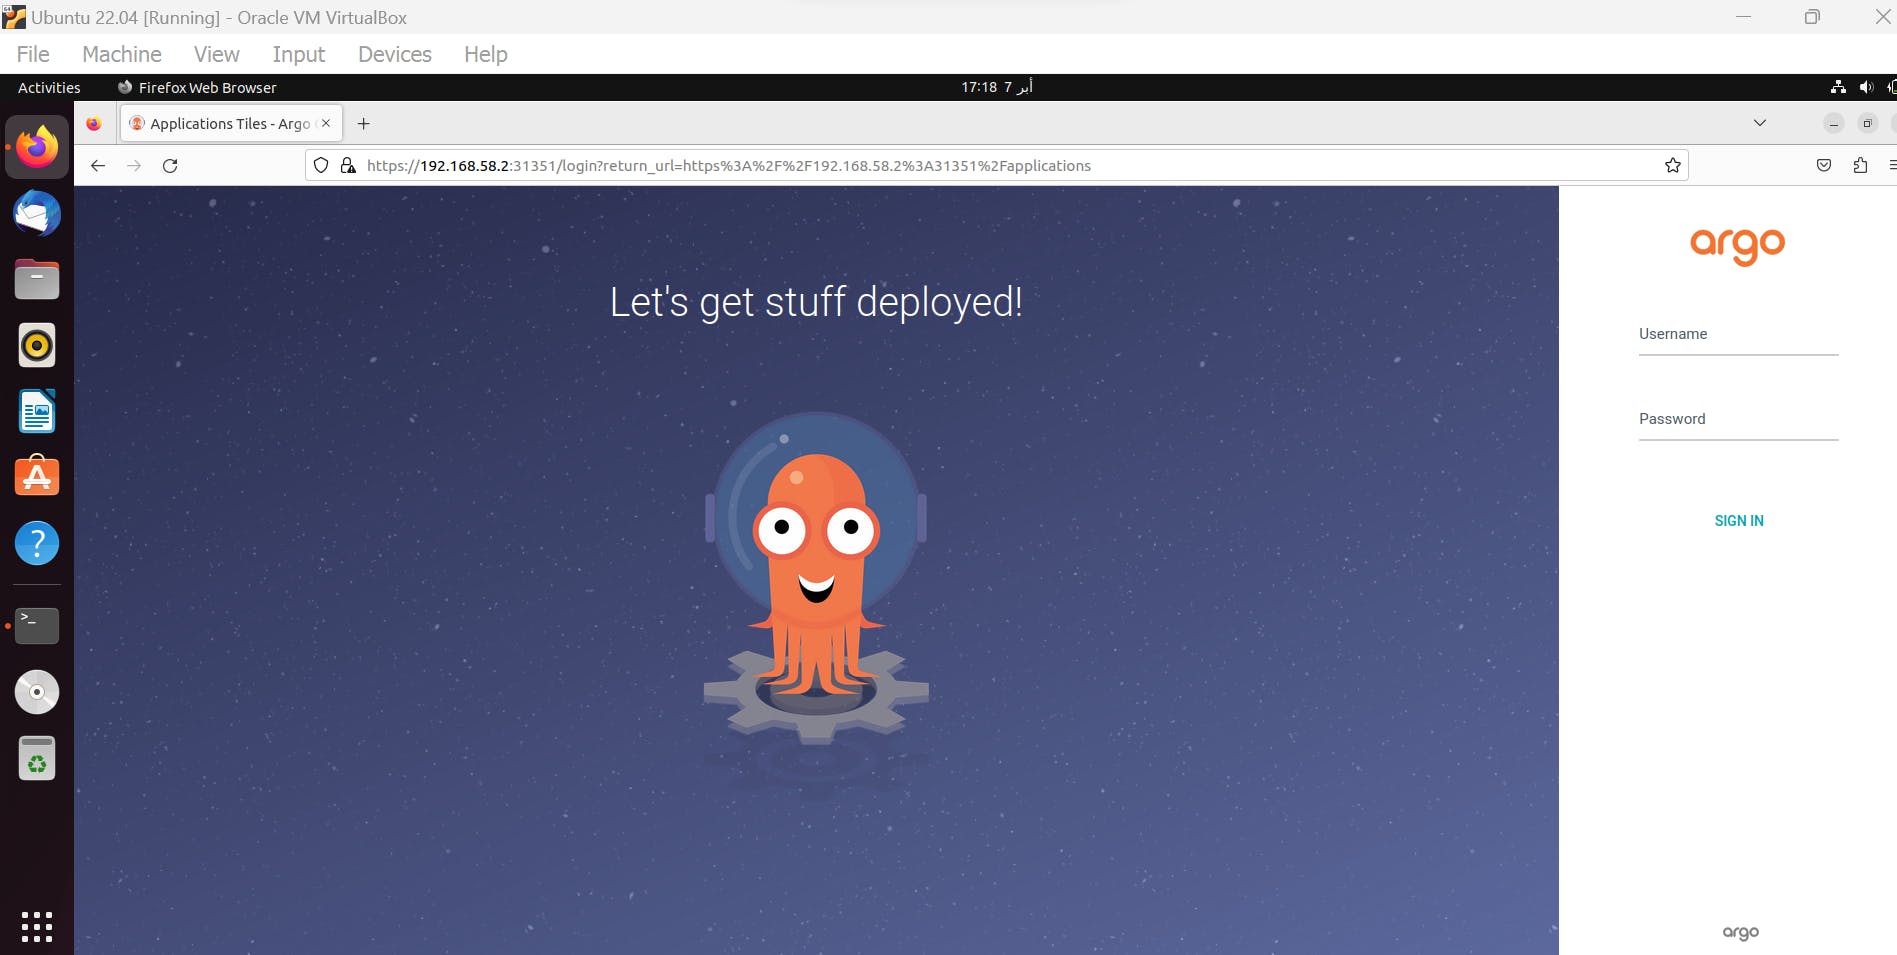
Take the LoadBalancer link and open it in your browser. Click on Advanced ==> then click on the bottom link.
Username: admin
Password: CsylvxV9WNX4iQDZFLdm03SgPMEwq1pI
We will use the Argo CD web interface to run sprint-boot-app.
Set up Github Repository manifest and Kubernetes cluster.
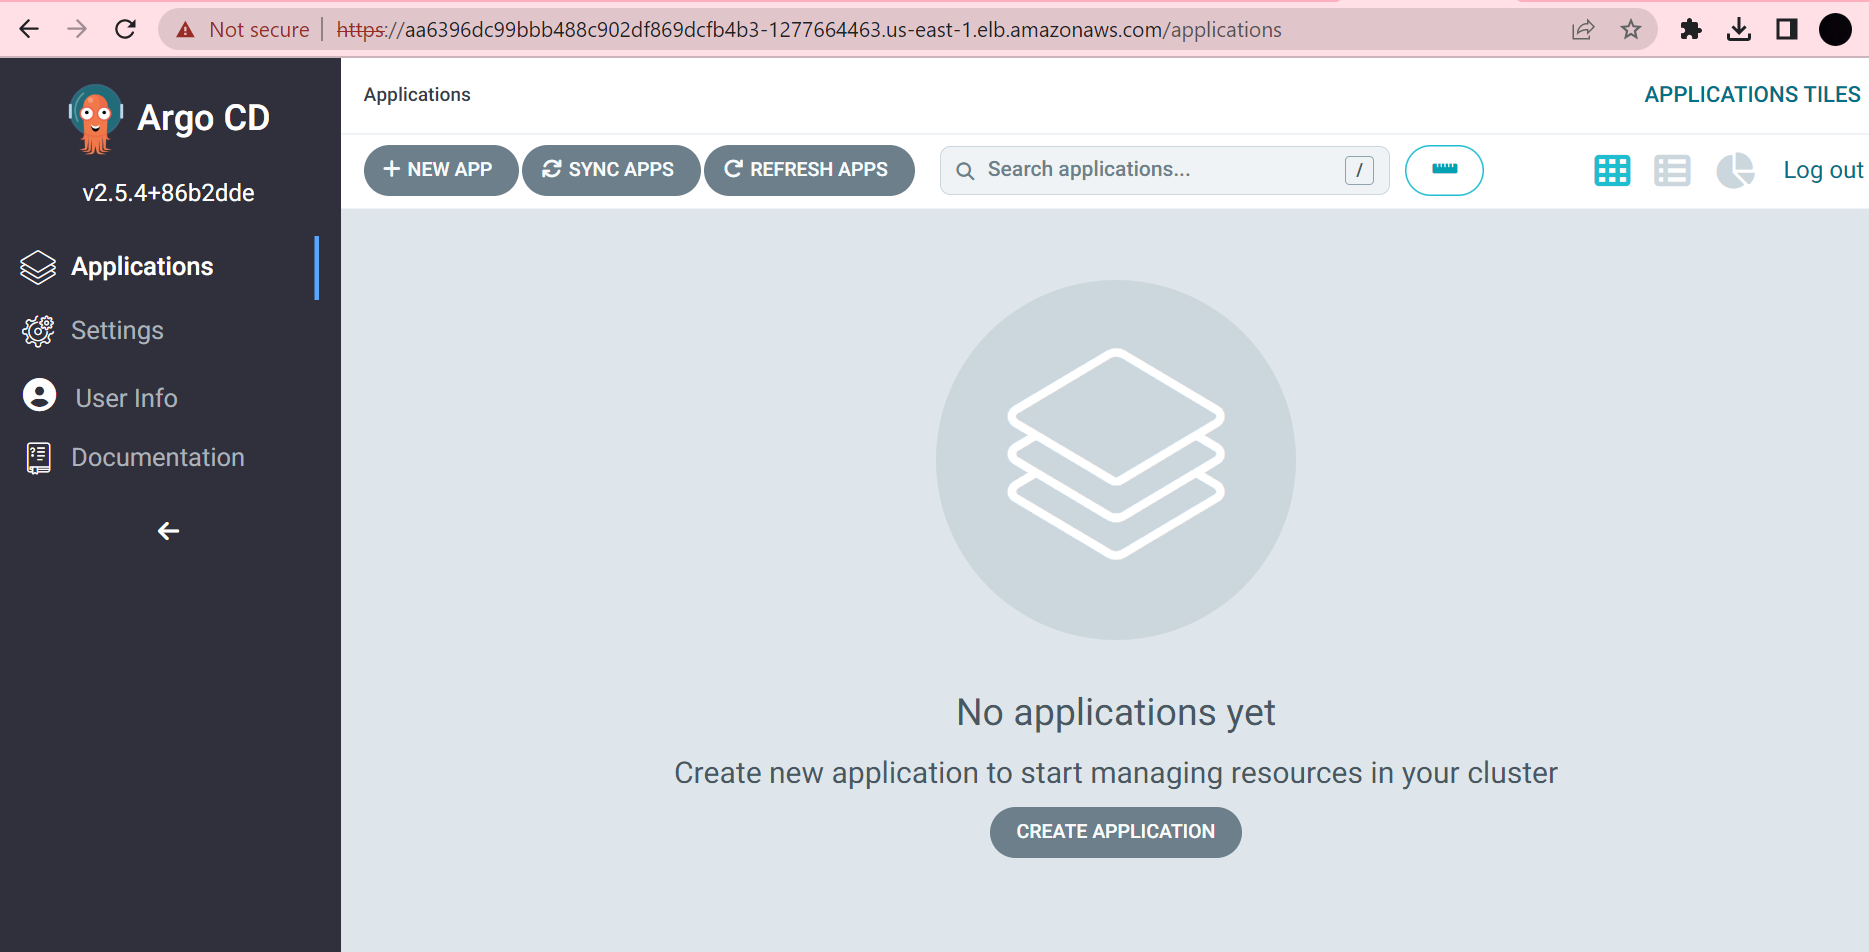
Enter details for your Deployment repository.
Application Name: test
Project Name: default
SYNC POLICY: Automatic
Repository URL: https://github.com/sunitabachhav2007/Jenkins-Zero-To-Hero.git
Path: java-maven-sonar-argocd-helm-k8s/spring-boot-app-manifests
Cluster URL: https://kubernetes.default.svc
Namespace: default

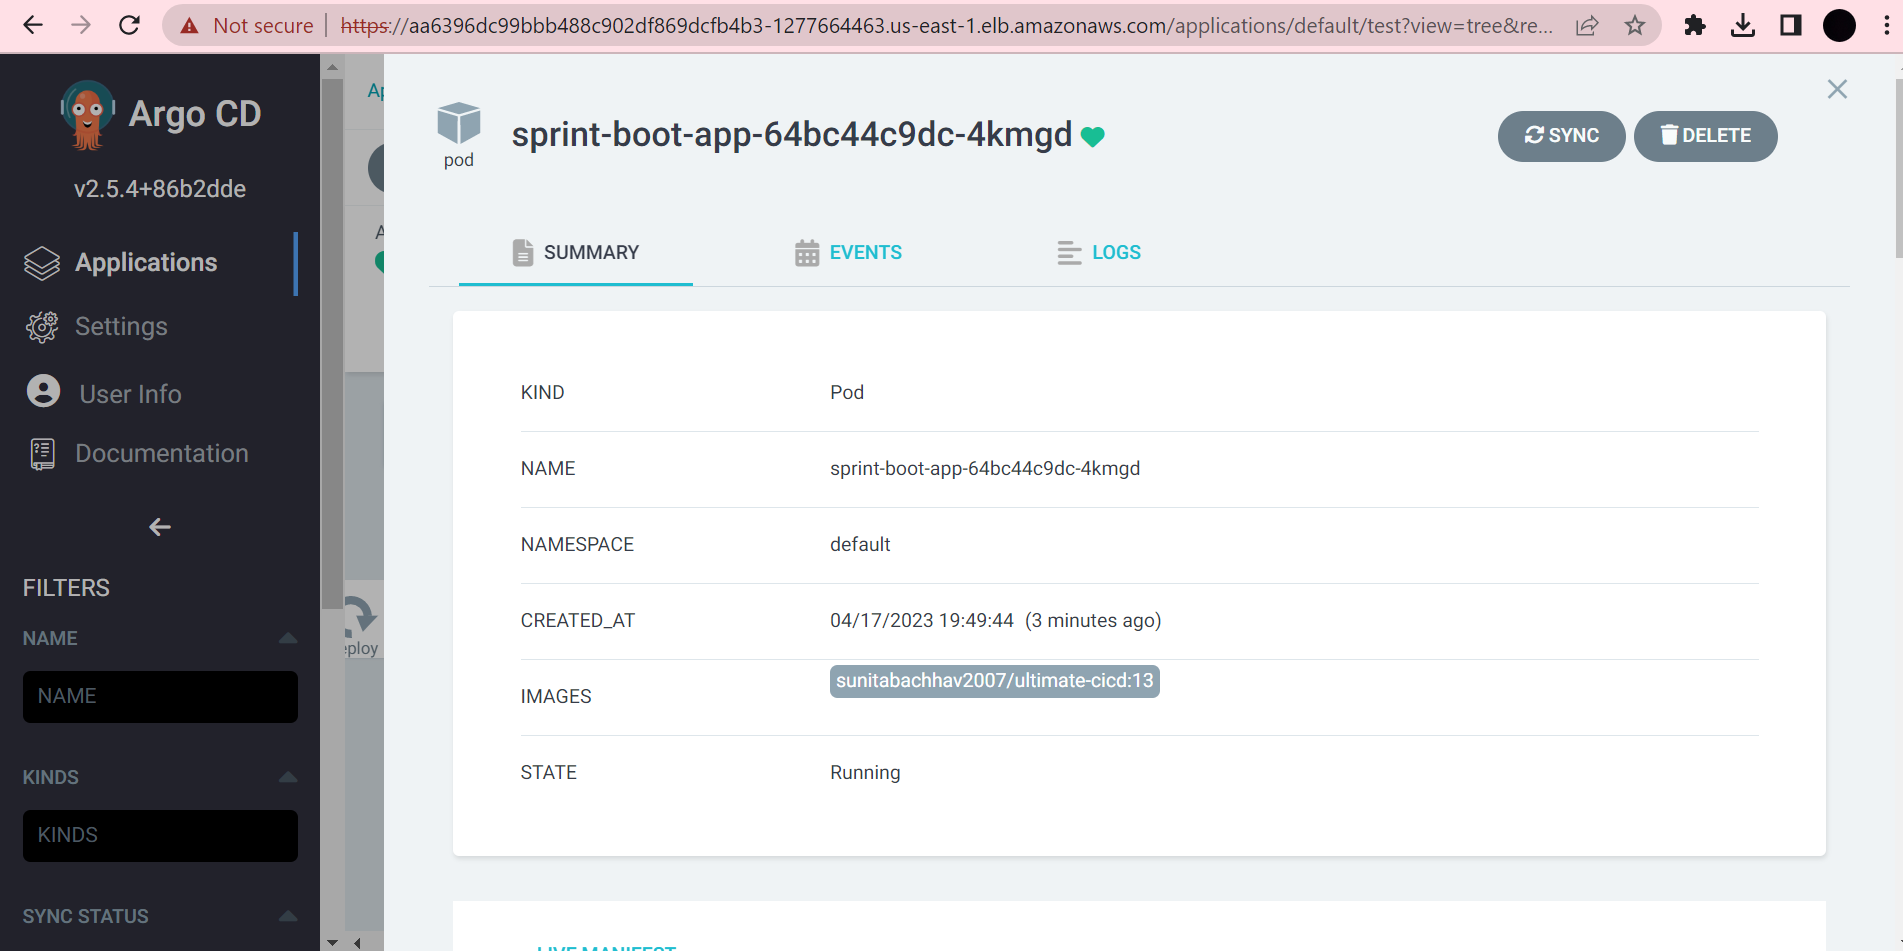
After Create. You can check if pods are running for sprint-boot-app

You have now successfully deployed an application using Argo CD.
Argo CD is a Kubernetes controller, responsible for continuously monitoring all running applications and comparing their live state to the desired state specified in the Git repository.

References
Github: https://github.com/sunitabachhav2007/Jenkins-Zero-To-Hero.git
Youtube Link: https://www.youtube.com/watch?v=JGQI5pkK82w&list=PLdpzxOOAlwvIKMhk8WhzN1pYoJ1YU8Csa&index=52
Clean UP
In this stage, you're going to clean up and remove all resources which we created during the session. So that it will not be charged to you afterward.
Delete EKS cluster with following command.
eksctl delete cluster --name eks2


Terminate EC2 Instance.
Thank you
Thank you for going through this article. ArgoCD is a great tool to implement Kubernetes resources in a declarative way and helps in maintaining control of manifest files using a version control tool such as Github.
Thanks for reading to the end; I hope you gained some knowledge.