Using Terraform to deploy an EC2 instance with bootstrapped Jenkins

What is Terraform?
HashiCorp Terraform is a cloud-agnostic infrastructure as code (IaC) tool that allows you to create declarative configuration files and build resources from those files. Terraform can work with many different cloud platforms because it speaks to the platforms’ application programming interfaces (APIs).
In this tutorial, we will be utilizing a basic level of proficiency, and thus we will be consolidating all of our code into a single main.tf file with pre-determined values. This type of Terraform configuration is referred to as a monolithic configuration, and while it is suitable for smaller projects, for more extensive projects, it is recommended to use multiple configuration files divided into logical units with variables instead of hardcoded data. In a subsequent tutorial, we will break down this monolithic structure into several files that use variables instead of hardcoded data.
Set Up an AWS Cloud9 Environment
Before starting, we must establish the environment in which Terraform will be executed. We have several choices available:
We can utilize our local Macbook machine.
We can acquire an EC2 instance and install Terraform on it.
We can opt for Virtual Box and install Terraform on it.
Alternatively, AWS Cloud9 comes with Terraform pre-installed.
To get started, sign in to AWS and navigate to the Cloud9 console.
Log into your AWS Account → search for “Cloud9” → Create Environment → give it a name.
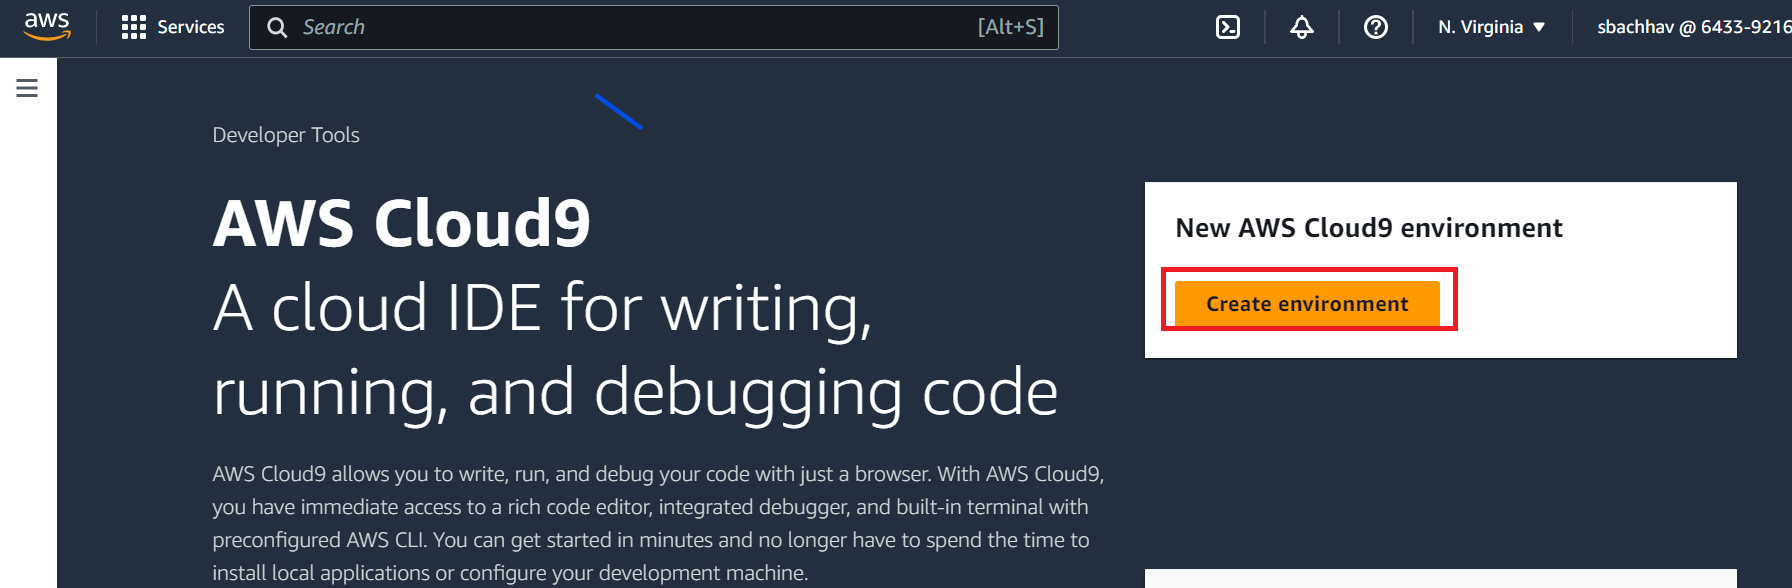
Once you’ve selected your Region, click Create environment. Give the environment a name and description. Select New EC2 instance and for Instance type the free-tier t2.micro should be fine. Choose your AMI or Platform (choose Amazon Linux 2). Under Network settings, choose AWS Systems Manager. You can leave the VPC settings as default, then click Create.


If you navigate to the EC2 console you will notice that Cloud9 is running on an instance it has created for you. After 30 minutes of inactivity, your instance will stop to prevent unnecessary charges.

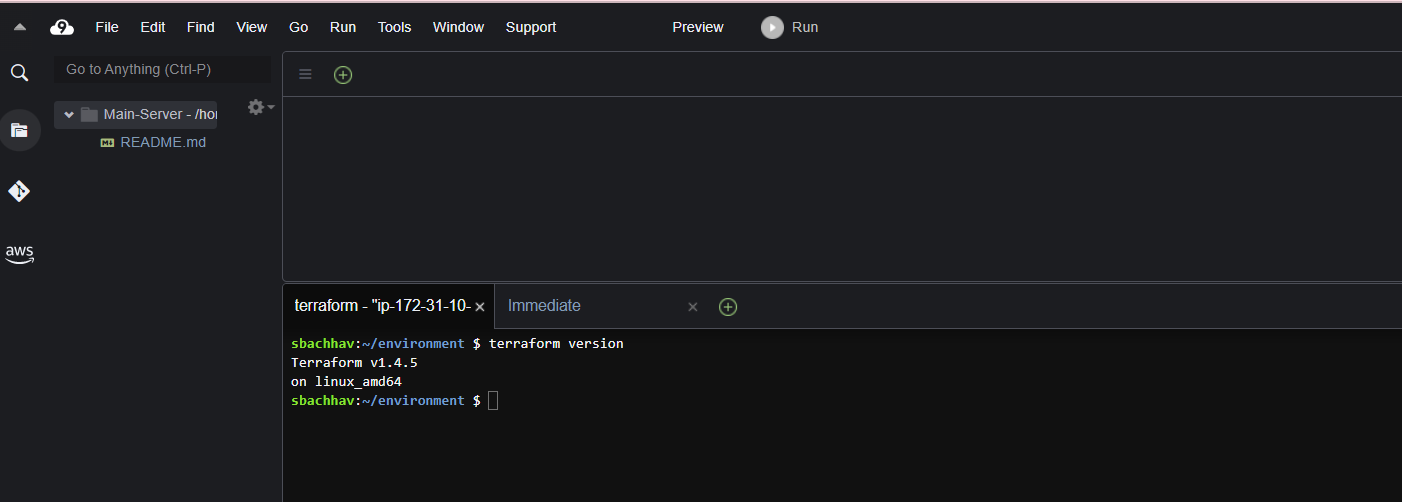
Back in the Cloud9 console, click the Open link of the environment you created. This will open a new Cloud9 window with your environment.

Configure AWS Provider with Access Key Credentials
Use the CLI to create environment variables that contain your keys. First, make sure you have the Access Key and Secret Key of your AWS user. Follow this, if you don't have it.
Once you have your Access Key and Secret Key readily available, run the following commands in the Cloud9 interactive terminal:
export AWS_ACCESS_KEY_ID="<access_key>"
export AWS_SECRET_ACCESS_KEY="<secret_key>"

Create a Directory structure as per your projects.
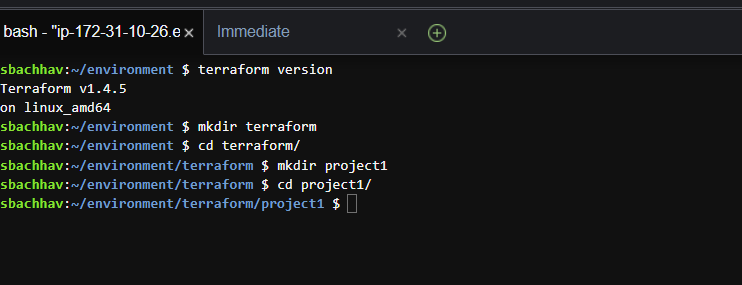
When you’re in the directory you want to work in, go ahead and create a main.tf file. You can do this from the CLI using the touch command or by clicking on File in the top left, then New file, saving the file in the correct directory. I’ve created a main.tf file from the CLI, then opened it by going to File → Open → main.tf

Deploy an EC2 Instance in Your Default VPC
The first step in writing your configuration file is to assign the provider you want to use.
#Configure the AWS Provider
provider "aws" {
  region = "us-east-1"
}
For instance type, we will use the free-tier t2.micro. You can optionally include a tag, and I have given my instance a tag of “jenkins_instance”. So far, our main.tf file should look like this:
#Create EC2 Instance
resource "aws_instance" "instance1" {
  ami                    = "ami-02396cdd13e9a1257"
  instance_type          = "t2.micro"
  tags = {
    Name = "jenkins_instance"
  }
You can find the ID for the AMI you want to use, by navigating to AMI Catalog within the EC2 console, finding the Amazon Linux 2023 AMI, and copying the AMI ID. Note that the AMI ID will be different depending on what Region you are in.

Bootstrap the EC2 Instance to Install and Start Jenkins Upon Startup
In Terraform, the user_data attribute is used to pass data to an instance at launch time. It is specified as a string in the Terraform configuration file and can contain any valid data that is base64-encoded when the instance launches.
Jenkins is an open-source automation server that provides tons of plugins to support building, deploying, and automating your projects. It is a fantastic CI/CD tool to create and manage pipelines for DevOps projects. To learn more about Jenkins, head on over to their website: (https://www.jenkins.io/)
Our team would like to use Jenkins to create pipelines but will need a cloud server to run Jenkins on. To create this server, we will bootstrap Jenkins to an EC2 instance, this when the team launches the instance, Jenkins will automatically install and start.
To create a script that can install and start Jenkins, first checkout the official Jenkins documentation here. Here is the Jenkins script:
 #Bootstrap Jenkins installation and start
  user_data = <<-EOF
  #!/bin/bash
  sudo yum update
  sudo wget -O /etc/yum.repos.d/jenkins.repo https://pkg.jenkins.io/redhat/jenkins.repo
  sudo rpm --import https://pkg.jenkins.io/redhat-stable/jenkins.io-2023.key
  sudo yum upgrade
  amazon-linux-extras install epel -y
  sudo dnf install java-11-amazon-corretto -y
  sudo yum install jenkins -y
  sudo systemctl enable jenkins
  sudo systemctl start jenkins
  EOF

  user_data_replace_on_change = true
}
The user data of an EC2 instance is where you can provide a “bootstrap” script that will run upon instance startup. We can define this script in our main.tf file by defining the user_data argument. Let’s add this to our existing main.tf file.

The <<-EOF and EOF are Terraform’s heredoc syntax and allows you to create multi-line strings without having to use the \n characters. The user_data_replace_on_change = true parameter means that if the user_data parameter is changed and you run terraform apply, Terraform will terminate the current instance and launch a new one to reflect the new user data script.
Create a Security Group
Let’s create our security group that will be assigned to our EC2 instance. To get started, click here to refer to the hashicorp/aws documentation about security groups. We want the security group to allow traffic on port 22 from my IP address and allows traffic from port 8080 (the default port for Jenkins). By default, AWS creates an “Allow All” egress rule, however, Terraform will delete this default so we need to recreate it using the “egress” block. Enter the following code into the main.tf file:
#Create security group
resource "aws_security_group" "jenkins_sg" {
  name        = "jenkins_sg"
  description = "Open ports 22, 8080, and 443"

  #Allow incoming TCP requests on port 22 from any IP
  ingress {
    description = "Incoming SSH"
    from_port   = 22
    to_port     = 22
    protocol    = "tcp"
    cidr_blocks = ["0.0.0.0/0"]
  }

  #Allow incoming TCP requests on port 8080 from any IP
  ingress {
    description = "Incoming 8080"
    from_port   = 8080
    to_port     = 8080
    protocol    = "tcp"
    cidr_blocks = ["0.0.0.0/0"]
  }

  #Allow incoming TCP requests on port 443 from any IP
  ingress {
    description = "Incoming 443"
    from_port   = 443
    to_port     = 443
    protocol    = "tcp"
    cidr_blocks = ["0.0.0.0/0"]
  }

  #Allow all outbound requests
  egress {
    from_port   = 0
    to_port     = 0
    protocol    = "-1"
    cidr_blocks = ["0.0.0.0/0"]
  }

  tags = {
    Name = "jenkins_sg"
  }
}

Assign the Security Group to the EC2 Instance
Now that we have the code for our security group, we need to let Terraform know to assign that security group to the EC instance that it will create.
vpc_security_group_ids = [aws_security_group.jenkins_sg.id]

Create a Private S3 Bucket for Your Jenkins Artifacts
For this tutorial, we want to create a private Amazon S3 bucket to store our Jenkins artifacts, and we want the bucket resource to be created from the Terraform main.tf file. HCL documentation for creating an S3 bucket can be found here.
To make the S3 bucket private we can use the resource "aws_s3_bucket_acl" and indicate acl = "private"
#Create S3 bucket
for Jenkins artifacts
resource "aws_s3_bucket" "jenkins-artifacts" {
  bucket = "jenkins-artifacts-12345abc"
  tags = {
    Name = "jenkins_artifacts"
  }
}

#Make S3 bucket private
resource "aws_s3_bucket_acl" "private_bucket" {
  bucket = aws_s3_bucket.jenkins-artifacts.id
  acl    = "private"
}
The final script will look like this:

Save your main.tf file
Running Terraform Infrastructure
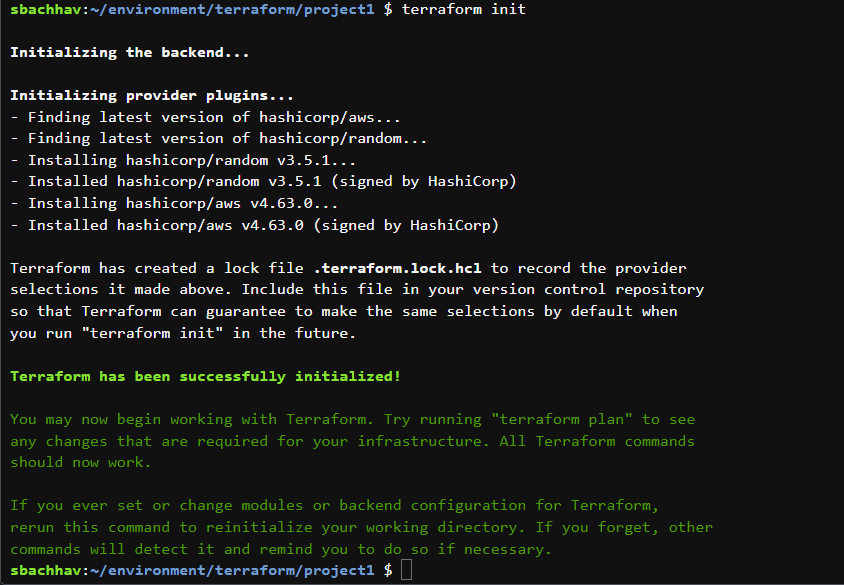
terraform init
This initializes the backend and downloads the plugins you need to run Terraform with AWS.
terraform validate
This command makes sure the syntax of the main.tf file is correct before you create the infrastructure. It checks that the arguments and references are appropriate, that you aren’t missing any punctuation characters, etc. If you get errors, it will tell you the exact line of the code that needs correcting, so fix it and run terraform validate again until it tells you “Success!”.

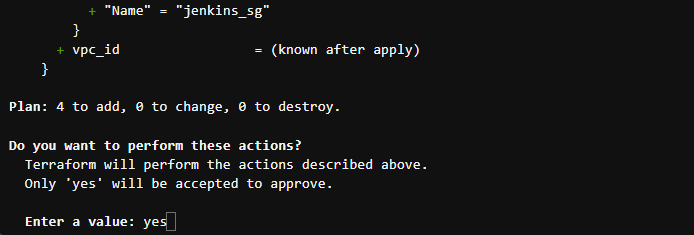
terraform plan
The output of terraform plan is too much to screenshot, but basically, it will show you what it plans to create. The very last line of output will show a one-line summary of the plan.


Once the plan appears suitable, run the following command:
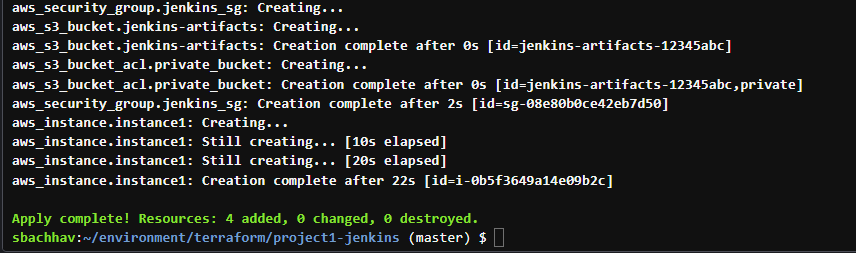
terraform apply
Similarly, the terraform apply command will have a lot of output, too much to screenshot. It will go through each resource as it creates it and let you know how long it’s taking each resource to create and when the creation is complete. After all of the infrastructure is created, you should see “Apply complete!”.

Verify newly created Infrastructure
You can confirm the creation of all your resources by accessing the AWS console where you will be able to locate the new security group in the VPC console, the new instance in the EC2 console, and the new bucket in the S3 console.


Verify that You Can Reach Your Jenkins Install via Port 8080 in Your Web Browser
Please make sure Status check shows 2/2 checks passed for jenkins_instance

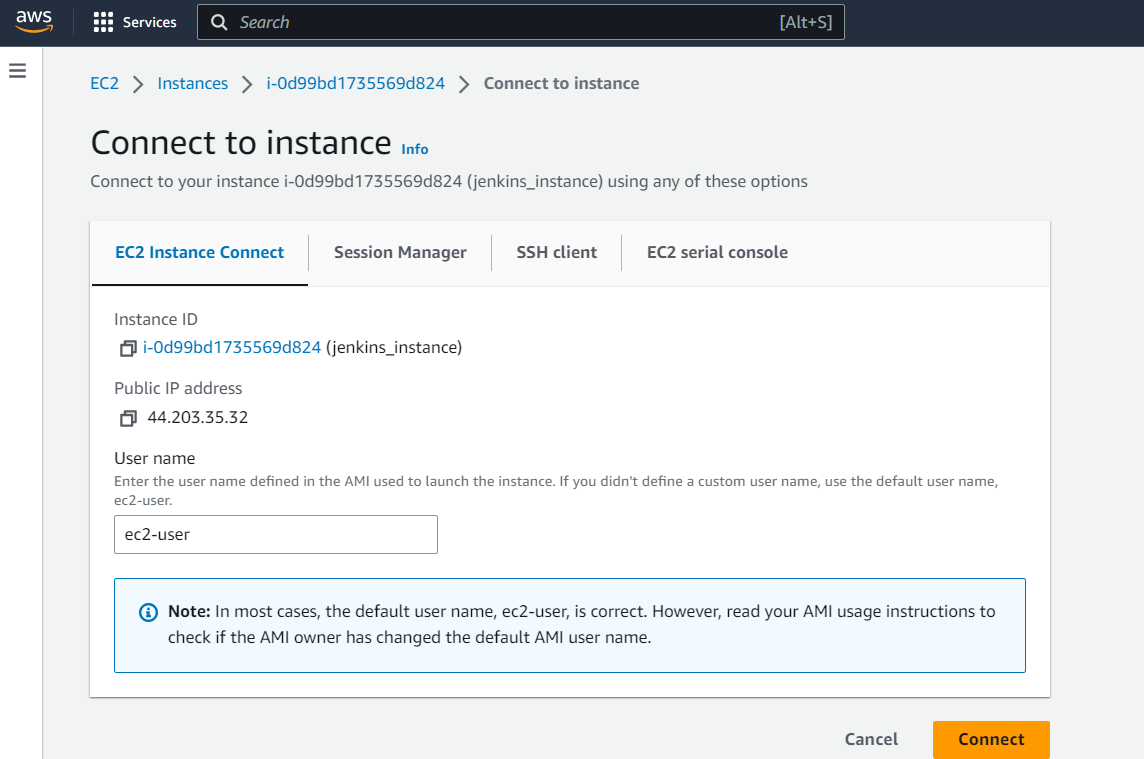
To check if Jenkins was installed and running, use the following command:
systemctl status jenkins
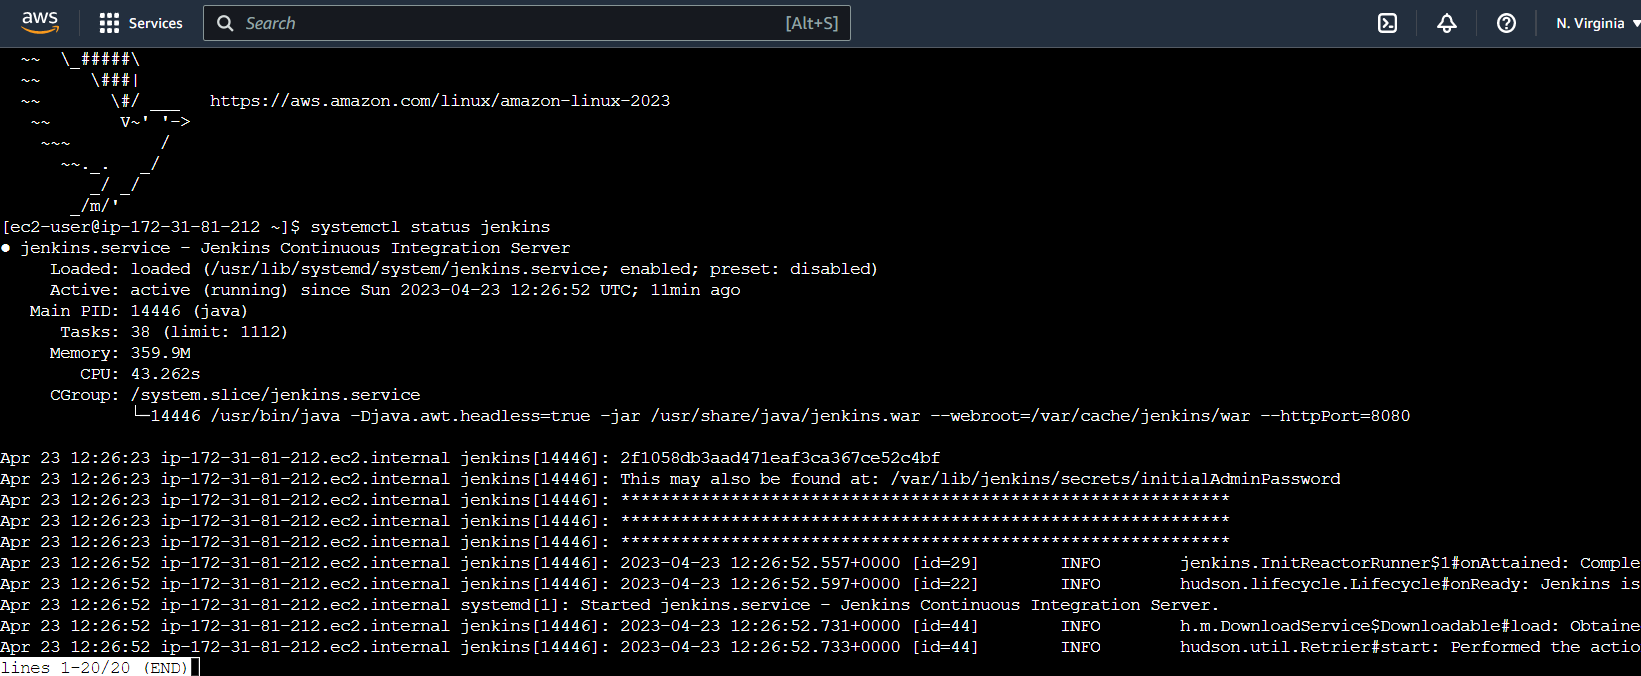
You should see that Jenkins is installed and running.
It looks like it’s working since we’re getting some HTML back. Now let’s see if we can get the Jenkins landing page in a web browser. In your web browser, input this address:
http://<instance_ip>:8080

If you did, Hurray!!! Your Jenkins server is up and running!
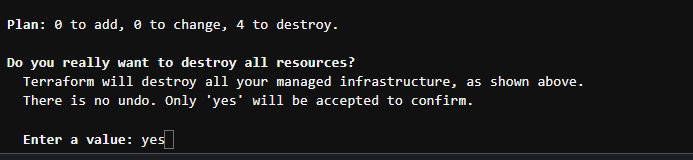
Clean Up
To clean up and delete all of the infrastructure resources we created, run the following command:
terraform destroy


Conclusion
Woohoo, you did it! With Terraform, we were able to launch an EC2 instance that was bootstrapped with Jenkins and also set up an S3 bucket that is not publicly accessible. I appreciate your participation in this tutorial as we explore Terraform together.
If you have liked this project and my effort please share this and fork my Github repo for more practice.
Github : https://github.com/sunitabachhav2007/Terraform-Jenkins.git
Thanks for reading to the end; I hope you gained some knowledge.